Introduction to Jigsaw Puzzle Crafting
Jigsaw puzzle crafting is a fun and creative hobby. It allows you to transform images you love into interactive pieces of art. Whether you’re a DIY enthusiast or looking for a custom gift idea, learning how to make jigsaw puzzles can be rewarding. This guide will walk you through the process from start to finish. We’ll cover everything you need for creating your very own jigsaw puzzle.
Jigsaw puzzles date back to the 1760s and were originally used as educational tools. Today, they are a beloved pastime enjoyed by people of all ages. Crafting your own jigsaw puzzle adds a personal touch to this traditional activity. It involves several steps: selecting materials, designing the image, and meticulous cutting. With patience and precision, you can make puzzles that rival store-bought ones. Follow these steps closely, and you’ll be piecing together your masterpiece in no time.
Materials Needed for Making a Jigsaw Puzzle
To start your jigsaw puzzle crafting journey, gather the essential materials first. You will need a high-quality image, a solid backing board, a cutting tool, adhesive, and a few other supplies. Here is a step-by-step list of what to prepare:
- High-Resolution Image: Choose a clear, high-resolution photo or illustration. This will be the face of your puzzle.
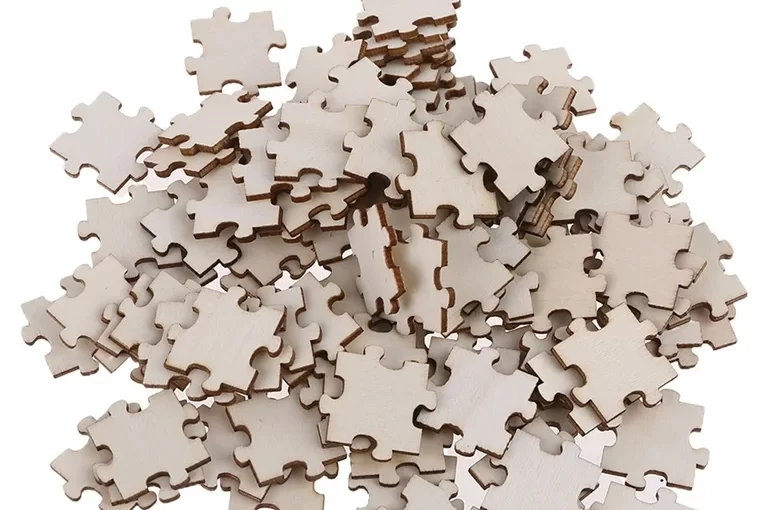
- Puzzle Board: Plywood or thick cardboard works well as a sturdy base.
- Adhesive: A strong glue is necessary to affix the image to the board. Spray adhesives provide an even coat.
- Cutting Tool: A jigsaw or a specialized puzzle cutting machine is ideal for precise cutting.
- Print Materials: Ensure you have access to a high-quality printer and suitable paper for your image.
- Sealant: Clear varnish or another sealant will protect the finished puzzle.
- Sandpaper: This is used to smooth the edges of your puzzle pieces after cutting.
- Ruler and Cutter: A straight edge and a sharp blade help make initial cuts before puzzle shaping.
Assemble these materials, and you’re ready for the next step: designing your puzzle. With everything at hand, you ensure a smooth crafting process. Remember, quality materials lead to a quality finished product.

Designing Your Puzzle: Tips and Ideas
When it comes to how to make jigsaw puzzles, design is key. The image you choose sets the tone for the entire crafting process and influences the level of challenge for the puzzle solver. Here are tips and ideas to help you design a captivating puzzle:
- Select a Theme: Puzzles are more engaging when they have a clear theme. Consider landscapes, abstract patterns, or personal photographs.
- Color and Complexity: Use an image with distinct colors and patterns for easy piece identification. Complex designs can offer a more challenging puzzle experience.
- Image Quality: Ensure your image is high-resolution. This prevents pixelation and blurred details in the finished product.
- Personalization: Create a unique puzzle with personal photos or artwork for a special touch.
- Scale and Orientation: Decide on the size and orientation of the puzzle. Larger puzzles with more pieces are typically more difficult.
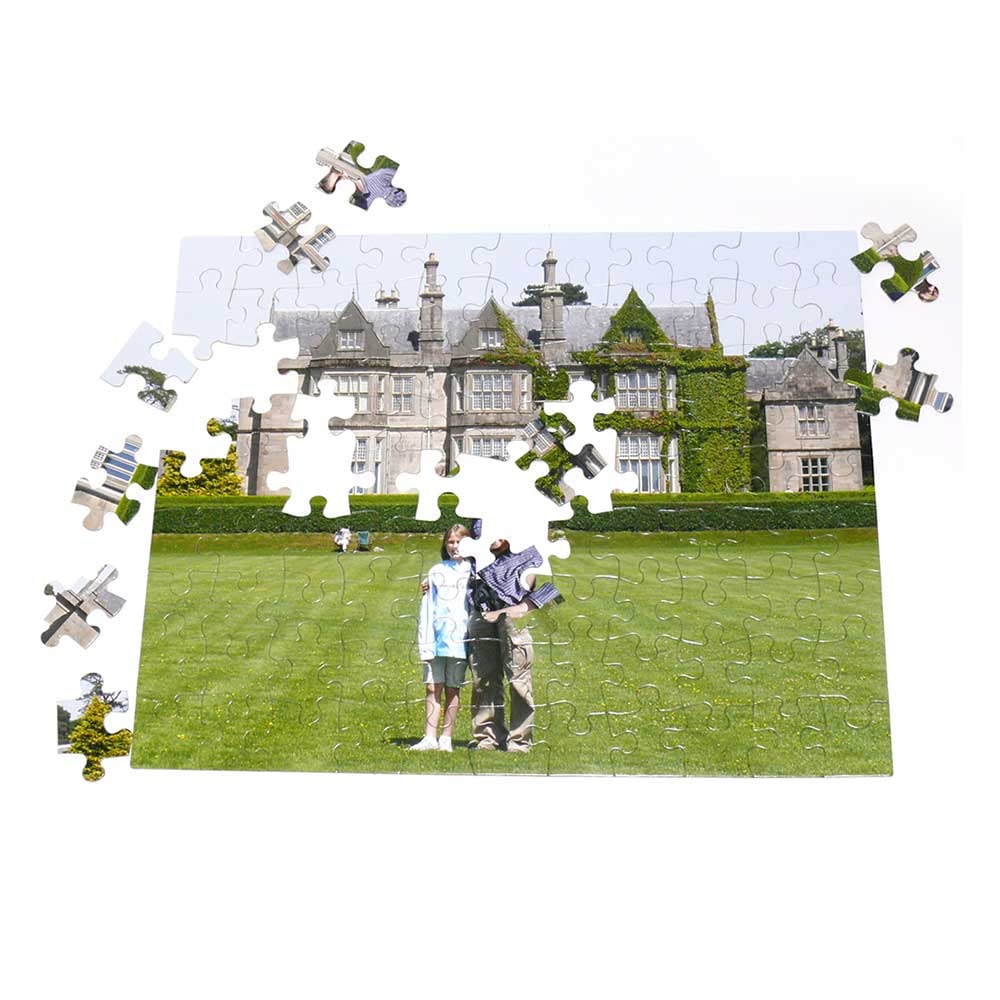
- Trial Layout: Arrange a draft layout of how your image will appear when cut into pieces. This helps in visualizing the final look.
Designing your jigsaw puzzle is a blend of creativity and strategy. Aim for an image that excites you and will also provide enjoyment for puzzle builders.
Printing Your Jigsaw Puzzle Image
Once you’ve designed your puzzle, it’s time to print. This step is critical in how to make jigsaw puzzles. A clear and vibrant printout will make your puzzle pieces pop and provide visual cues for assembly. Keep the following pointers in mind:
- High-Quality Print: Use a printer that can deliver rich colors and sharp details. A photo printer works well for this purpose.
- Right Paper: Choose paper that is thick enough to sustain the wear and tear of puzzle making and solving, such as matte photo paper.
- Correct Size: Ensure the paper size fits the scale of your puzzle. It should match the dimensions of your backing board.
- Print Testing: Do a test print to check for color accuracy and resolution. Adjust your printer settings if needed.
- Allow Drying Time: After printing, give the image plenty of time to dry. This prevents smudging when you move on to gluing.
Printing your image with care sets a strong foundation for your jigsaw puzzle’s quality. Take your time with this stage to ensure the best results.
Adhering the Image to the Puzzle Board
The next step in crafting your jigsaw puzzle is attaching the image to your chosen board. This stage is crucial for stability and durability. Here are simple instructions to follow:
- Surface Preparation: Start by cleaning the board surface. Make sure it’s free of dust and debris for the best adhesive bond.
- Applying Adhesive: Choose a well-ventilated area to apply your spray adhesive. Apply an even layer across the board, ensuring full coverage.
- Positioning the Image: Carefully align the image with the board. Starting from one edge, gently smooth the image onto the surface, pushing out any air bubbles.
- Securing the Image: Press firmly over the entire surface. This helps the glue set and prevents the image from peeling.
- Curing Time: Allow adequate time for the adhesive to cure. Refer to the glue’s instructions for specific drying times.
- Trimming Excess: Once the glue is dry, trim any overhanging edges of the image.
Adhering the image properly ensures your puzzle pieces will be sturdy and fit together well. Taking care when aligning the image and waiting for the glue to dry will pay off in the quality of your final jigsaw puzzle.

Cutting the Puzzle Pieces
After the image adheres to the board it’s time for the most exciting part: cutting the puzzle pieces. This step is where patience and precision are crucial. Here’s a step-by-step guide to help you through this delicate process.
- Secure the Board: Before cutting, ensure your board is stable on your work surface.
- Marking the Pieces: Use a ruler and a pencil to draw a grid over the image. This grid will guide where to cut.
- Cutting Tool: A sharp cutting tool is vital. For handmade puzzles, a jigsaw is a popular choice.
- Start Cutting: Begin from the outside edges and work your way in. Follow the grid lines carefully.
- Take Breaks: Given the detail needed, take regular breaks to avoid fatigue.
- Puzzle Piece Size: Decide on the size of your pieces. Smaller pieces make for a more challenging puzzle.
- Interlocking Shapes: Ensure the pieces will interlock well. This gives the puzzle stability when completed.
Cutting requires a steady hand and a keen eye. Work slowly, and you will produce beautifully crafted puzzle pieces. Remember, each piece contributes to the whole image and the overall puzzle experience. Your dedication here will define the final product’s look and feel.
Finishing Touches: Sanding and Sealing
After cutting the puzzle pieces, the finishing touches are just as important to ensure your puzzle’s longevity and ease of use. Here are the steps you should take to complete your jigsaw puzzle crafting:
- Sanding the Edges: Use fine-grit sandpaper to gently smooth the edges of each piece. This removes any splinters or roughness and makes the puzzle more pleasant to handle.
- Wipe Down: After sanding, wipe each piece with a clean cloth. This will rid them of any sawdust that could interfere with the sealing process.
- Applying Sealant: Protect your artwork by applying a clear sealant over the puzzle. This will both secure the image and make the surface more durable.
- Even Coverage: Make sure to cover every piece with sealant evenly. Avoid dripping or pooling to maintain the puzzle’s appearance and functionality.
- Drying: Allow the sealant to dry completely before testing the pieces. Check the manufacturer’s recommendations for curing time.
- Second Coat (Optional): For added protection, consider applying a second coat of sealant once the first has dried.
By carefully sanding and sealing your jigsaw puzzle, you ensure that it can be enjoyed for years to come. Not only do these steps add a professional touch, but they also enhance the puzzle’s overall quality.
Packaging and Storing Your Jigsaw Puzzle
Now that you’ve mastered how to make jigsaw puzzles, let’s talk about the final step: packaging and storing. These practices are vital to preserve your puzzle for future enjoyment or to prepare it for gifting. Follow these suggestions to keep your jigsaw puzzle safe and intact:
- Choosing the Right Container: Select a box or container that fits your puzzle snugly. This prevents the pieces from moving around and becoming damaged.
- Soft Lining: Consider lining the box with soft fabric or tissue paper. This additional layer of protection can prevent scratches.
- Labeling: Clearly label the container with the puzzle’s name and the number of pieces. This helps identify the puzzle and track all pieces.
- Bagging Pieces: If you’re worried about losing pieces, place them in a resealable plastic bag before putting them in the container.
- Climate Control: Store your puzzle in a cool, dry place away from direct sunlight, which can fade the colors over time.
- Stacking: If you’re storing multiple puzzles, stack them vertically like books to avoid putting pressure on the boxes at the bottom.
- Gifting: If you’re giving the puzzle as a gift, wrap the container with gift paper and add a personal note or instructions.
By properly packaging and storing your jigsaw puzzle, you ensure that the hard work you put into crafting it is preserved. Whether you’re keeping it for yourself or sharing it with others, these steps will keep your puzzle looking and functioning its best.